

"Step-by-Step Guide: Creating and Accessing a User on VNC Server Using TigerVNC Viewer" [access VNC server ]


"Step-by-Step Guide: Creating and Accessing a User on VNC Server Using TigerVNC Viewer"
[access VNC server ]
Step 1:
using centos linux machine installed in the virtualbox.
Note: do it as root user, until we the process step switch to created user.
Let’s install VNC server
yum install vnc-server
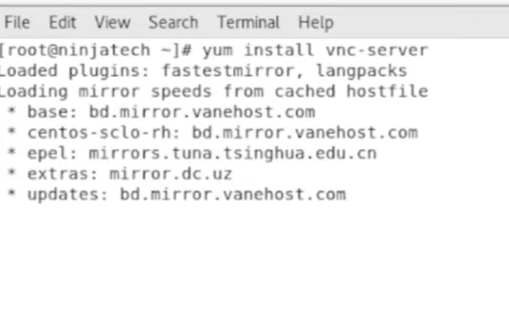
Now once installed check for the confirmation with,
rpm -q tigervnc-server
Step 2:
Now we have to add user and set password for it
useradd karthims
passwd karthims
Once entered passwd along with the username we added, it’ll prompt for the
New password to set.
Copy the systemd service file named vncserver@.service to a new location and rename it along with the parameter for the service :1 which indicates different instances of the same service.
cp /lib/systemd/system/vncserver@.service /etc/systemd/system/vncserver@:1.service
Now edit the vncserver service unit file,of
/etc/systemd/system/vncserver@:1.service
Open by entering,
gedit /etc/systemd/system/vncserver@:1.service
Scroll down we get to see this set of lines

In there we have to edit the <USER> part to the actual user name ( here i set karthims as username ) in it, and save it.
Step 3:
Now,
configure firewall rule using the firewall-cmd tool, cause you want to allow the VNC server service through the firewall defender.
firewall-cmd –permanent –zone=public –add-service vnc-server
firewall-cmd is the command-line tool for managing firewalld, the firewall manager in many Linux distributions.
--permanent flag indicates that the rule should be persisted across firewall reloads/restarts.
--zone=public specifies the firewall zone you want to apply the rule to (you can adjust this based on your configuration).
--add-service=vnc-server is used to add the specified service (replace vnc-server with the actual service name) to the allowed services list in the firewall.
And reload them to apply the changes,
firewall -cmd --reload
Step 4:
Switch to the user we created,
su - karthims
Now in there initiate the vncserver
Enter the password.

Step 5:
Switch again to the root user
su -
And,
Systemctl daemon-reload
systemctl enable vncserver@:1.service This will give us 5901 port number.
And,
reboot
Step 6:
Once after reboot start the server by entering,
systemctl start vncserver@:1.service
Check ipaddress, With command
Ifconfig
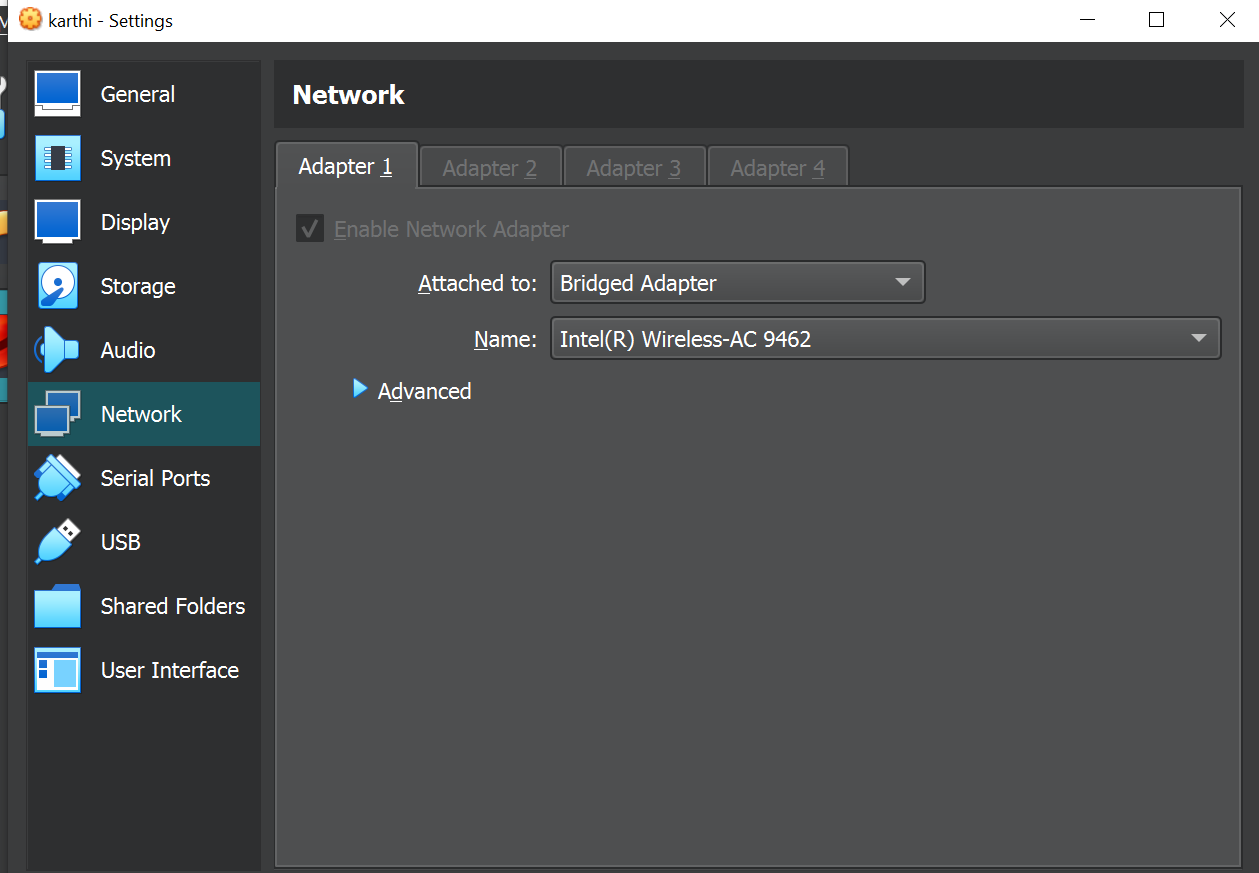
Getting inet address may some point misses in enp0s3 section,

Make sure we have get the settings right,
settings->network->attached to-> change them to Bridge adapter

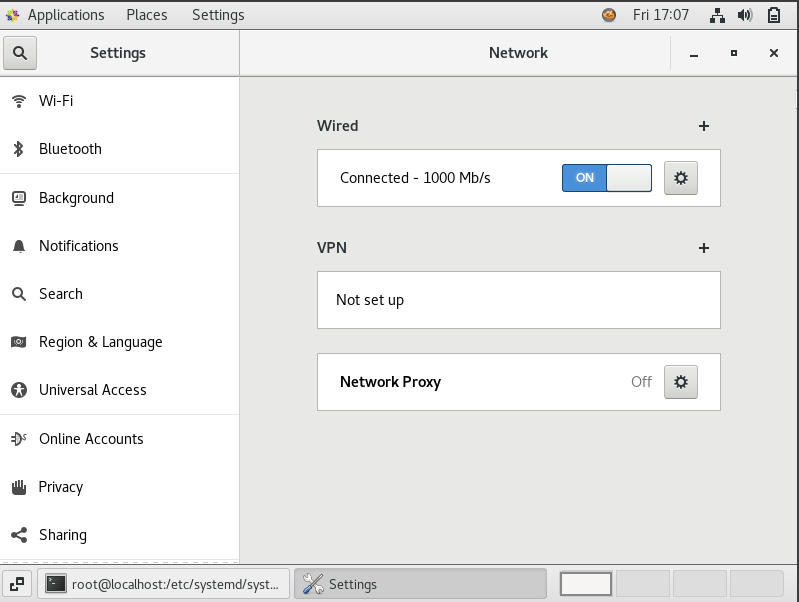
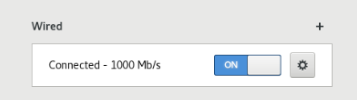
Also check,
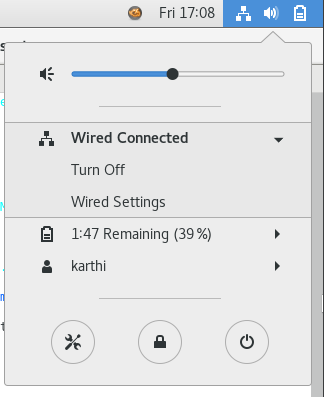
On the wired connected section from the network the below section is switch on,
Now the process is

Enter the password the popup from tigervnc viewer comes with the created user karthims
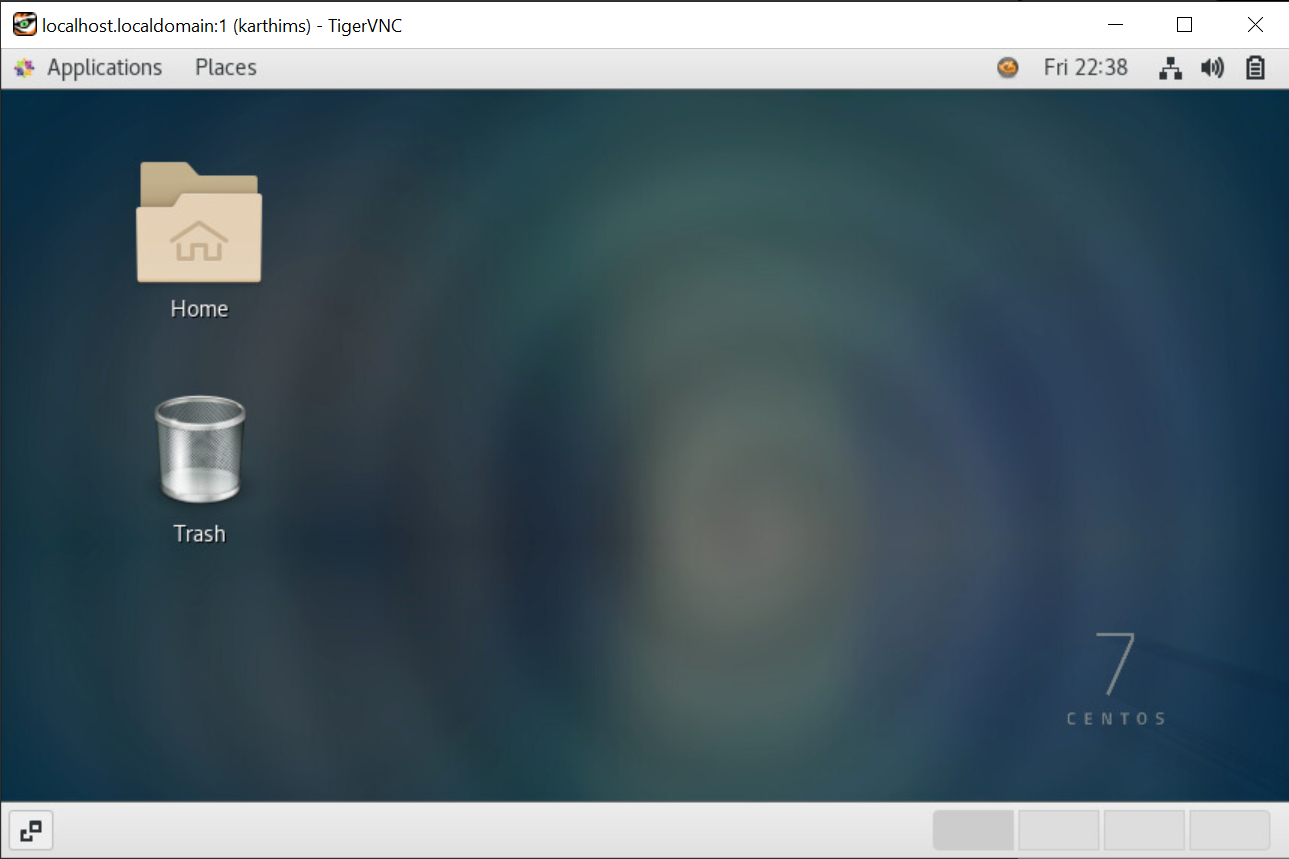
End result comes with the user we created with the use of tigervnc viewer.
[NOTE: TigerVNC Viewer is a remote desktop viewer and client software that allows you to connect to remote computers using the Virtual Network Computing (VNC) protocol. VNC is a protocol that enables you to control another computer remotely as if you were sitting in front of it. The remote computer runs a VNC server, and you use a VNC client like TigerVNC Viewer to connect to and interact with the remote desktop]