

SETTING UP VM server machine for the SYNOPSYS tools to launch.


it's to set the virtual machine to set up the Synopsys tools to be installed inside which would help us to log in using a Windows-based Linux machine (xming) that we get to connect through VLSI expert server terminal. here are the steps,
setup of a virtual machine
volume storage setup
STEP 1:-
Created an instance of having Centos 7.9 https://aws.amazon.com/marketplace/pp/prodview-foff247vr2zfw?sr=0-1&ref_=beagle&applicationId=AWSMPContessa
Then we provide directories and partitions as follows,
selecting the right amount of volume to actually set up the VM state is always available On that note we choose to have 3partition for our VM and to set it up in a proper way.
(create the VM and create 3 volumes to make the partition process & create directories of home, /usr/synopsys and data)
On the AWS console, get the volume added for the 3 more directories along with the root directory which is 4 together, as [8+1+1+1] initial setup.
- Below in the aws console, provide the needed disk volume,
[xvdf,xvdg,xvdh] as follows we will be created for the 3 directories
/root
/home
/usr/synopsys
/data
Now after initiating the basic setup of, a formal VM from centos 7.9 , 4 disk spaces.
-------------------------------------------------------------------------------------------------------------
STEP 2:-
(update the system provide the partition and mount the disk to each of the directories)
Update the system,
sudo yum update
Now make the changes of giving the given disk to the partition folder to give it to the directory we want to work with,
[The fdisk command in Linux is used to create and manipulate disk partition tables]
fdisk -d Delete a partition
fdisk -m Print the available (FDISK) commands
fdisk -n Add a new partition
fdisk -p Print the partition table
fdisk -w Write the table to the hard drive
Now, create the partition of new and default primary partition to each of the directories.
The mount has to happen with three of the directories, one to maintain for the root which is home dir, another one is for Synopsys tools to be implemented and on the other hand to have data stored for the future addition task added.
now created volume needed to be attached to the instance of our centos machine.
get inside the volume section press action on the top of the volume listed
select the volume from the list and attach it to the particular instance.
- this follows the below format,
once attached it to the instance
partition -> formatting -> mounting to the mount point.
sudo fdisk /dev/xvdf
sudo mkfs.xfs /dev/xvdf1
sudo mkdir -p /ve/home
sudo mount /dev/xvdf1 /ve/home
- now, do it for the other partition and mounting point as well the same way now for tool set
sudo fdisk /dev/xvdg
sudo mkfs.xfs /dev/xvdg1
sudo mkdir /usr/synopsys
sudo mount /dev/xvdg1 /usr/synopsys
- now set the partition for data
sudo fdisk /dev/xvdh
sudo mkfs.xfs /dev/xvdh1
sudo mkdir /data
sudo mount /dev/xvdh1 /data
The above commands will fill and mount the disk partition.
Now reboot the system.
---------------------------------------------------------------------------------------------------------------------
--Now mount the storage volume with use of fstab
[Note: edit with care when working with fstab file]
vi fstab [automatically mount the storage volume when we start the Linux machine].
get inside the etc/fstab to add information about the disk,
sudo vi /etc/fstab
you'll get the UUID of each UUID="xxxxxxxx-xxxx-xxxx-xxxx-xxxxxxxxxxxx": This is the Universally Unique Identifier associated with the device or partition. UUIDs are used to uniquely identify storage devices, and they are often used in configuration files and scripts to mount the devices.
UUID=9cff3d69-3769-4ad9-8460-9c54050583f9 /                       xfs     defaults        0 0
UUID=955da89f-c139-4ea0-97bb-52f9336c1d1f /usr/synopsys    auto    defaults,nofail,comment=cloudconfig    0    0
UUID=8737447c-6ea5-4987-be0f-90f280751d96 /ve/home   xfs    defaults,nofail,rw,seclabel,relatime,attr2,inode64,usrquota,prjquota,grpquota  0 0
this above file indicates the set of par
------------------------------------------------------------------------------------------------------------------------------------------
We now created a new storage volume by modifying the existing volume of the /usr/synopsys for 50GB.
Ec2->volume-> select the volume storage-> enter the modify option->change it to 50GB.
Now to attach the modified volume give the commands below,
sudo growpart /dev/xvdg 1
and extend the volume to the particular disk as given below to its directory
sudo xfs_growfs -d /usr/synopsys
now we need to add a user to give access to the whole machine for that we need to provide the user and SSH login authentication way, give the autherized_key to the server machine in its SSH directory.
creating user,
sudo useradd khelender
and create a directory for this user to store their key
sudo mkdir /home/khelender/.ssh
now edit and add the authorized_keys inside it,
sudo vi /home/khelender/.ssh/authorized_keys
get the key from the root we already had,
sudo vi /root/.ssh/authorized_keys
recursively change the owner permission to the below user,
sudo chown -R khelender ~/.ssh/
also centos,
sudo chown -R centos:centos ~/.ssh/
sudo chown -R khelender:khelender ~khelender/.ssh
The sudo chown -R khelender:khelender ~khelender/.ssh command is used to change the ownership of the .ssh directory and its contents to the user "khelender" and the group "khelender."
sudo chmod 600 ~khelender/.ssh/authorized_keys
By running the above command, you are setting the permissions for the authorized_keys file to allow only the owner, in this case, the user "khelender," to read and write to the file.
sudo vi /etc/sudoers
/etc/sudoers: This is the path to the sudoers file. It's the main configuration file for the sudo command, where you define who can run which commands with elevated privileges.
sudo vi /etc/group
changes all the users and makes the group of users that you want to add the superuser.
"Now with this, we can able to login to the server machine using the user that we added here".
we've our AMI available which has all the specs pre-built for the above steps.
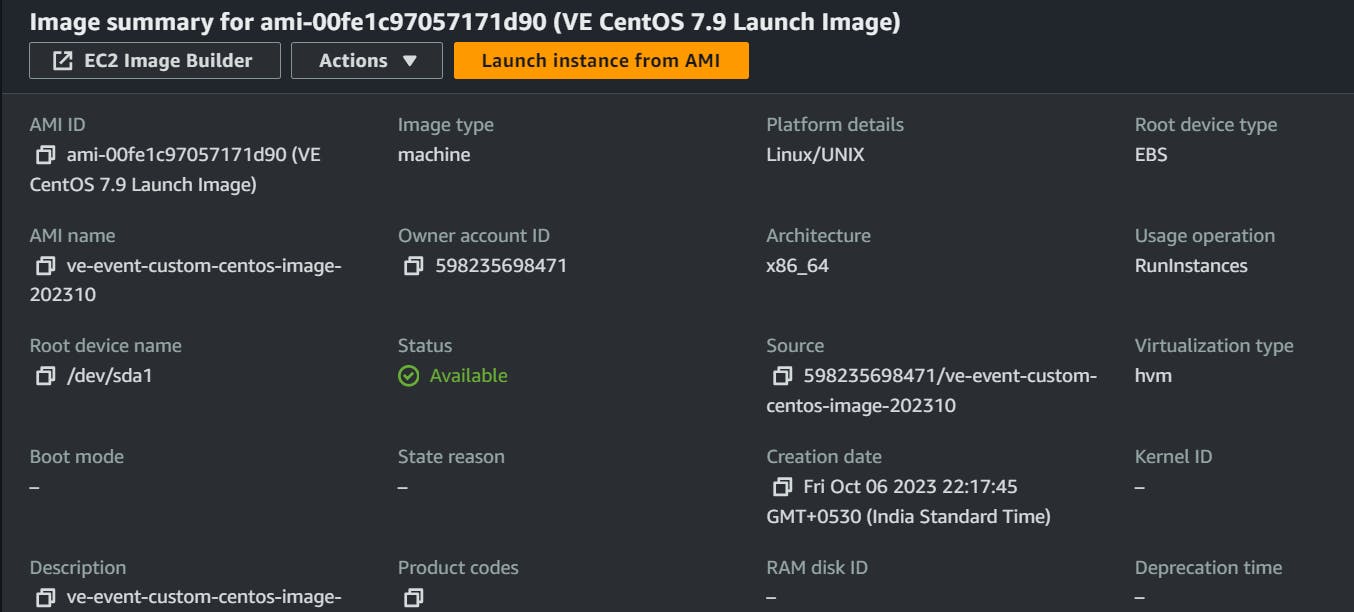
use the above image to launch the instance.
Install the Synopsys tools by configuring AWS
with the use of an AWS S3 bucket where we store all our required software packages to be installed to work with the Synopsys tools, hence we need to configure AWS to use s3.
curl "https://awscli.amazonaws.com/awscli-exe-linux-x86_64.zip" -o "awscliv2.zip" && unzip awscliv2.zip && ./aws/install
at some point ./aws/install might not work so apply it separately to the terminal
./aws/install
to check if the aws cli is installed check with,
aws --version
now integrate with the user of our AWS ACCOUNT where we have our package installed.
aws configure
AWS Access Key ID [****************ABCD]:
AWS Secret Access Key [****************efgh]:
Default region name [us-east-1]:
Default output format [json]:
Enter the given inputs on the sections, so that we get inside our account and the permissions we are allowed to take charge of,
now get all the software packages from the s3 bucket we've,
now to install binaries
mkdir wa
cd wa
aws s3 --profile ${profile} ls s3://ve-setup-binaries
The export profile=default command sets an environment variable named profile with the value "default." In many programming and scripting languages, including shell scripting, you can use the export command to create or modify environment variables.
Once you've executed this command, the environment variable profile will be available for use in your shell session or any scripts that you run within that session. You can access the value of the profile variable using the $profile syntax
make the entries for bashrc file
sudo vi /etc/bashrc

in this file give these entries at the last line of the file.
export SNPSLMD_LICENSE_FILE=27020@sws-international.com
export PATH=$PATH:/usr/synopsys/icc2/S-2021.06-SP5/bin:/usr/synopsys/wv/S-2021.09-SP2-2/bin:/usr/synopsys/prime/S-2021.06-SP5/bin

now with the help of two scripts, we are going to initiate and launch the Synopsys tools.
sudo vi setup_installer.sh
change the execution permission,
chmod +x setup_installer.sh
setup_installer.sh
#!/bin/bash
# ---------------------------------------------------------
# setup_installer.sh : setup synopsys installer
# ---------------------------------------------------------
function setup_env() {
    logfile=/tmp/remote_tool_install.log
    profile=default
    echo " ------------ Installer install Run @ `date` --------- " >> $logfile
    set +x
    # -------- Checkup existence of profile ------------
    aws s3 --profile ${profile} ls s3://ve-setup-binaries/ > /dev/null 2>&1
    status=$?
    if [[ $status -ne 0 ]] ; then
    echo "ERROR: profile ${profile} not available! exiting."
    exit 1
    fi
}

function setup_installer() {
    # -------- Setup installer ------------
    if [[ ! -f /usr/synopsys/installer/installer ]]
    then
        # echo "------Installer binary available, installing it------" ; return ;
    aws s3 --profile ${profile} sync s3://ve-setup-binaries/installer installer >> $logfile
    echo /usr/synopsys/installer | perl installer/SynopsysInstaller_v5.4.run

    sudo chown -R centos:centos /usr/synopsys
    echo "Synopsys Installer has been setup at /usr/synopsys "
    else
        echo "------- Installer already available in /usr/synopsys/installer/installer !"
    return
    fi
}

echo "Installing Synopsys installer at /usr/synopsys/installer/installer"
setup_env
setup_installer
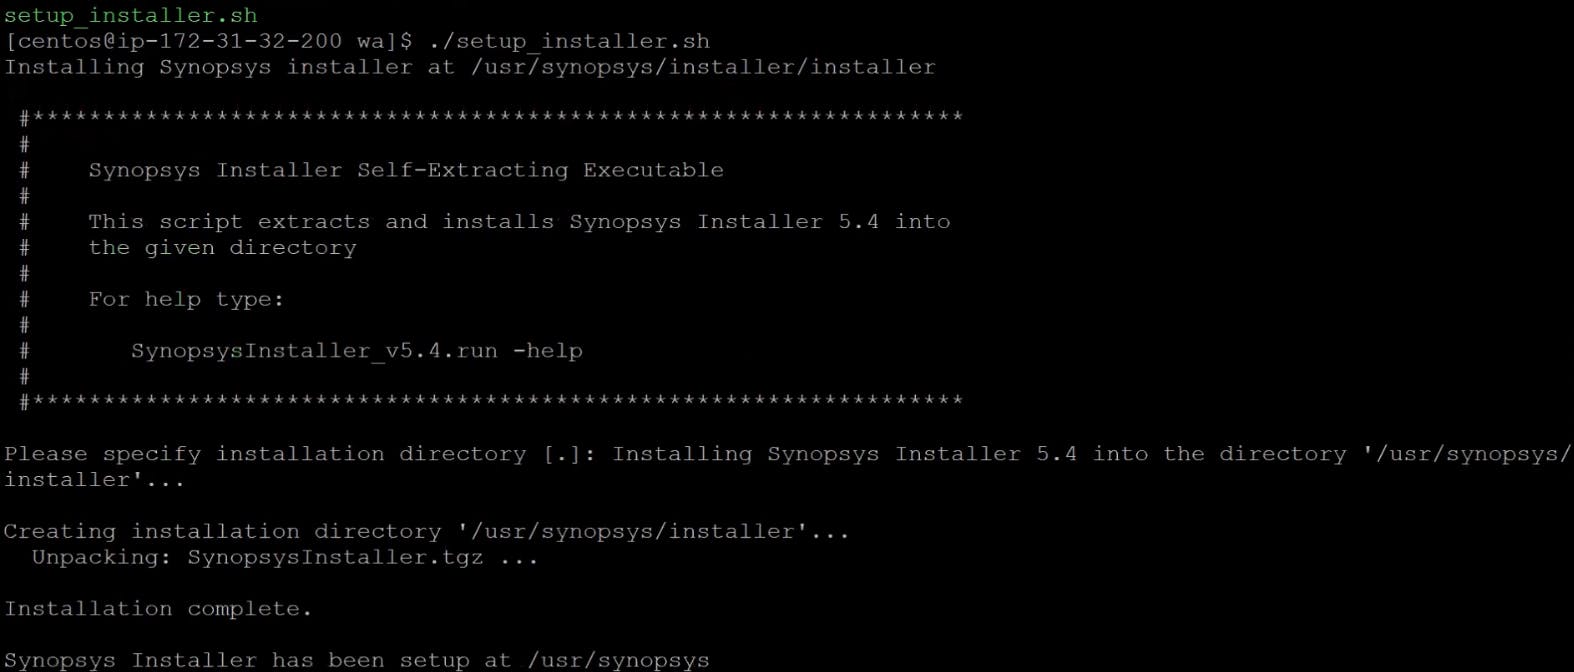
initializing the setup of synopsys installer.
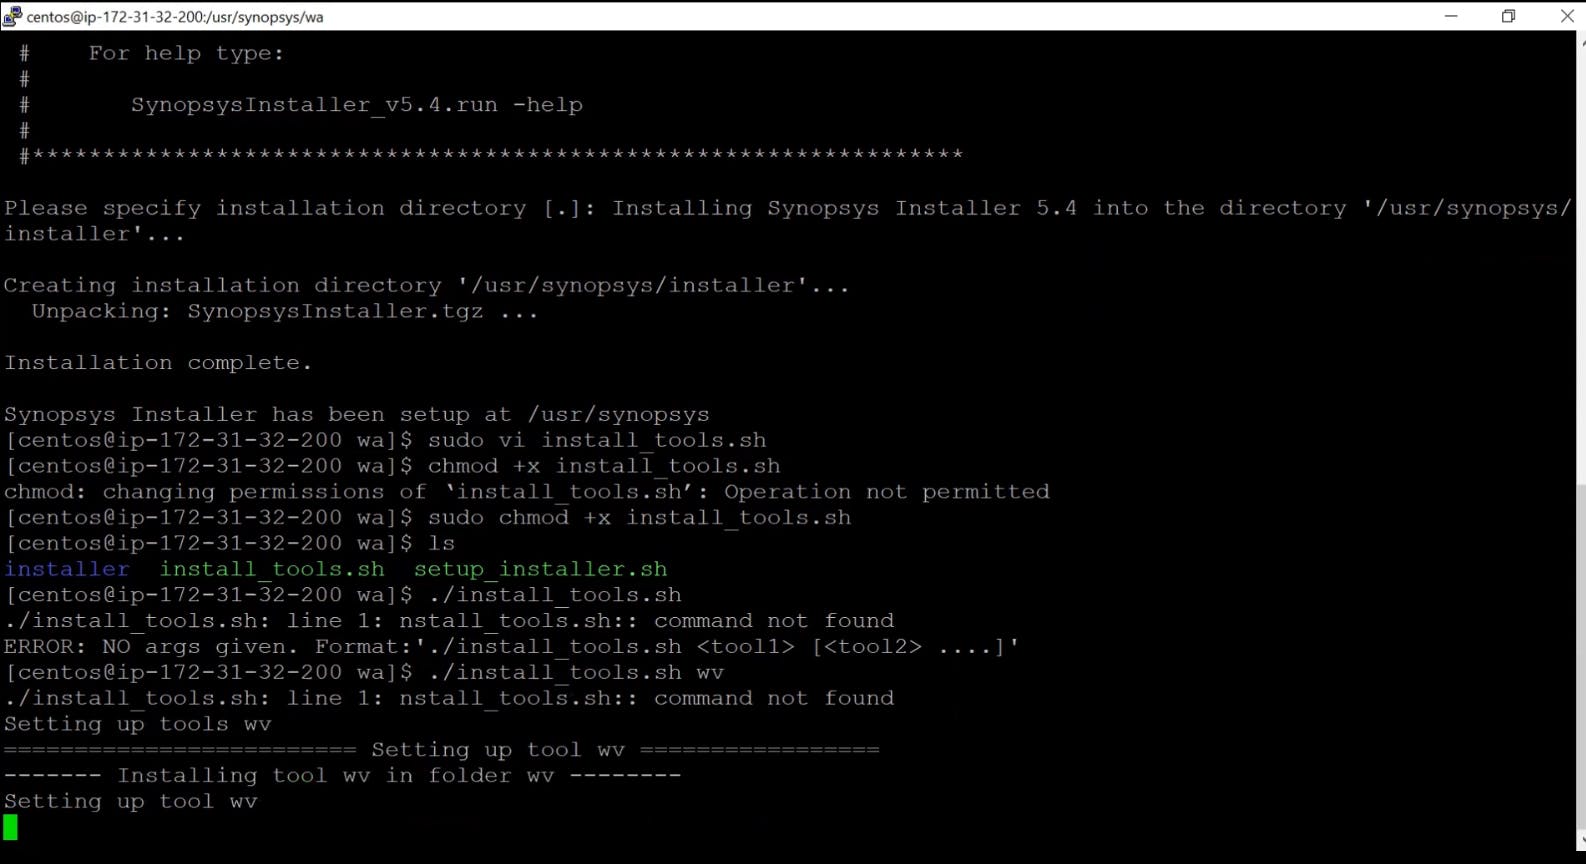
sudo vi install_tools.sh
install_tools.sh
#!/bin/bash
# ---------------------------------------------------------
# install_tools.sh: setup tools
# ---------------------------------------------------------
function setup_env() {
    logfile=/tmp/remote_tool_install.log
    profile=default
    echo " ------------ Tool install Run @ `date` --------- " >> $logfile
    set +x
    # -------- Checkup existence of profile ------------
    aws s3 --profile ${profile} ls s3://ve-setup-binaries/ > /dev/null 2>&1
    status=$?
    if [[ $status -ne 0 ]] ; then
    echo "ERROR: profile ${profile} not available! exiting."
    exit 1
    fi
}

function setup_tools() {
    # -------- Setup tools ------------
    tools="$@"
    #tools="icc2 dc prime formality hspice wv" # customcompiler starrc"
    echo "Setting up tools $tools"
    for tool in $tools
    do
    echo "========================= Setting up tool $tool ================="
    folder=$tool
    if [[ ($tool == "dc") ]] ; then
        folder=syn
    elif [[ ($tool == "formality") ]] ; then
        folder=fm
    fi

    # ----- Check existence of tool installer on s3 bucket
    aws s3 --profile ${profile} ls s3://ve-setup-binaries/$tool > /dev/null 2>&1
    status=$?
    if [[ $status -ne 0 ]] ; then
        echo "ERROR: Tool $tool not available in s3 bucket"
        continue
    fi

    echo "------- Installing tool $tool in folder $folder --------"
    if [[ ! -d /usr/synopsys/$folder ]] ; then
        echo "Setting up tool $tool"
        aws s3 --profile ${profile} sync s3://ve-setup-binaries/$tool $tool >> $logfile
        input="yes\nyes\n"
        echo -e $input | /usr/synopsys/installer/installer -source $tool -target /usr/synopsys -site_info site_info.txt
    else
        echo "WARNING! Folder $folder for tool $tool already exists! skipping."
    fi
    done
    rm -rf snps*temp*
}

if [[ $# -gt 0 ]] ; then
    setup_env
    setup_tools "$@"
else
    echo "ERROR: NO args given. Format:'$0 <tool1> [<tool2> ....]'"
fi
change the permission,
chmod +x install_tools.sh
then, run the script with the tool required like wv,icc2, prime
./install_tools.sh <tools>
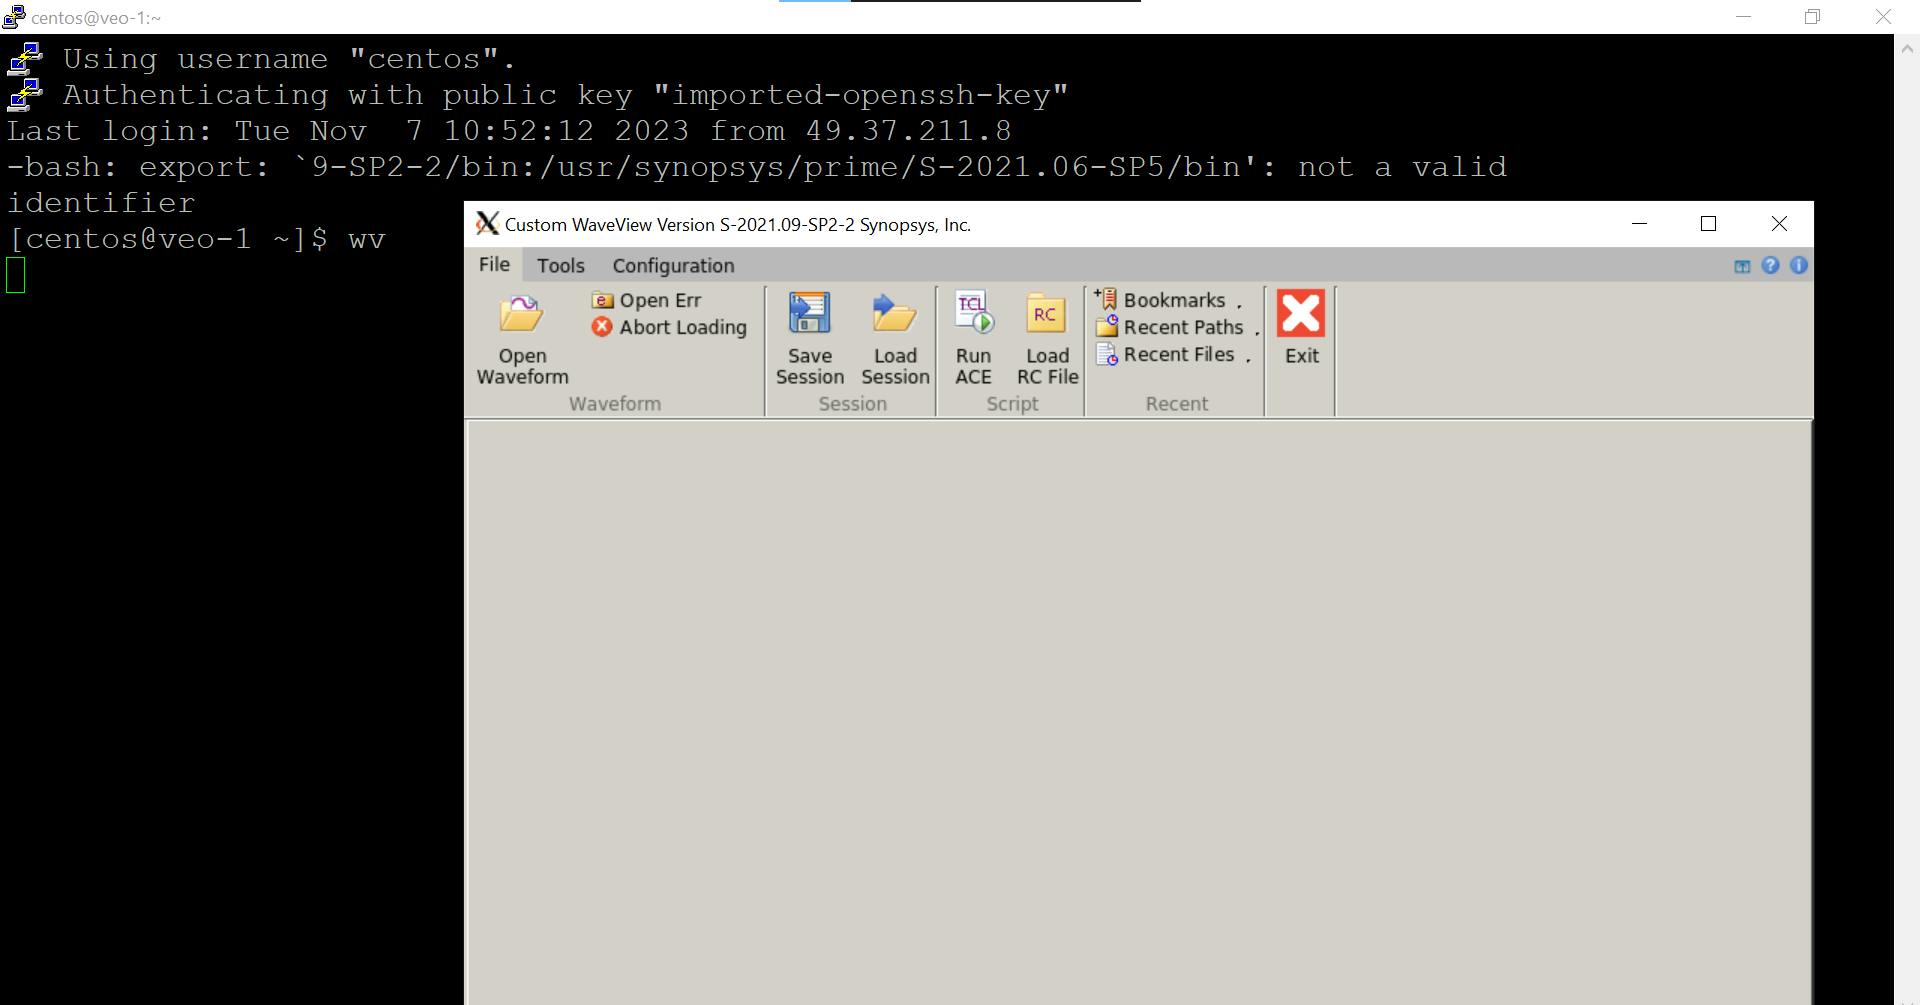
here we are launching wv(waveform viewer)
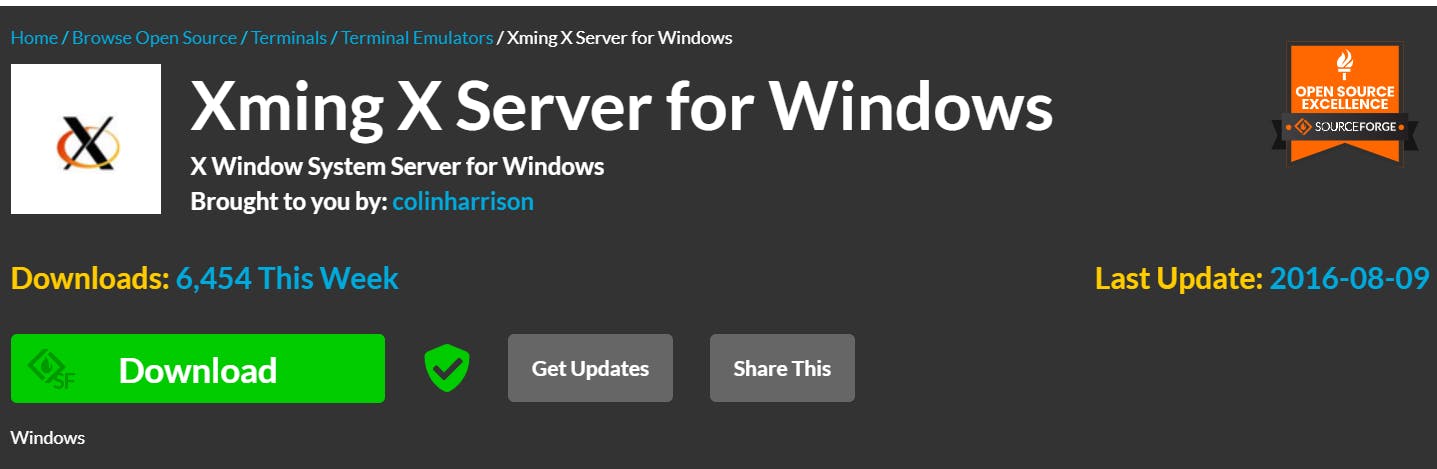
with this install Xming server, A free display server for your Windows PC it's a leading display server for Windows computer.
https://sourceforge.net/projects/xming/
now the above server launcher launches the tool we require to install.
- then open the xming which will run on the background show us under the taskbar.
NOTE: now with the above install_tools.sh script mention the tool that you want to launch that'll helps us to launch of showcase.